Quickstart (Zapier) - Generating a PDF document in a Zap
Here's how to generate PDF documents in a Zapier zap.
- Register for a DocuPotion account
- Install the DocuPotion Zapier app
- Design your document template
- Trigger document generation in your Zapier Zap.
Register for a DocuPotion account
Estimated time: 1 minute
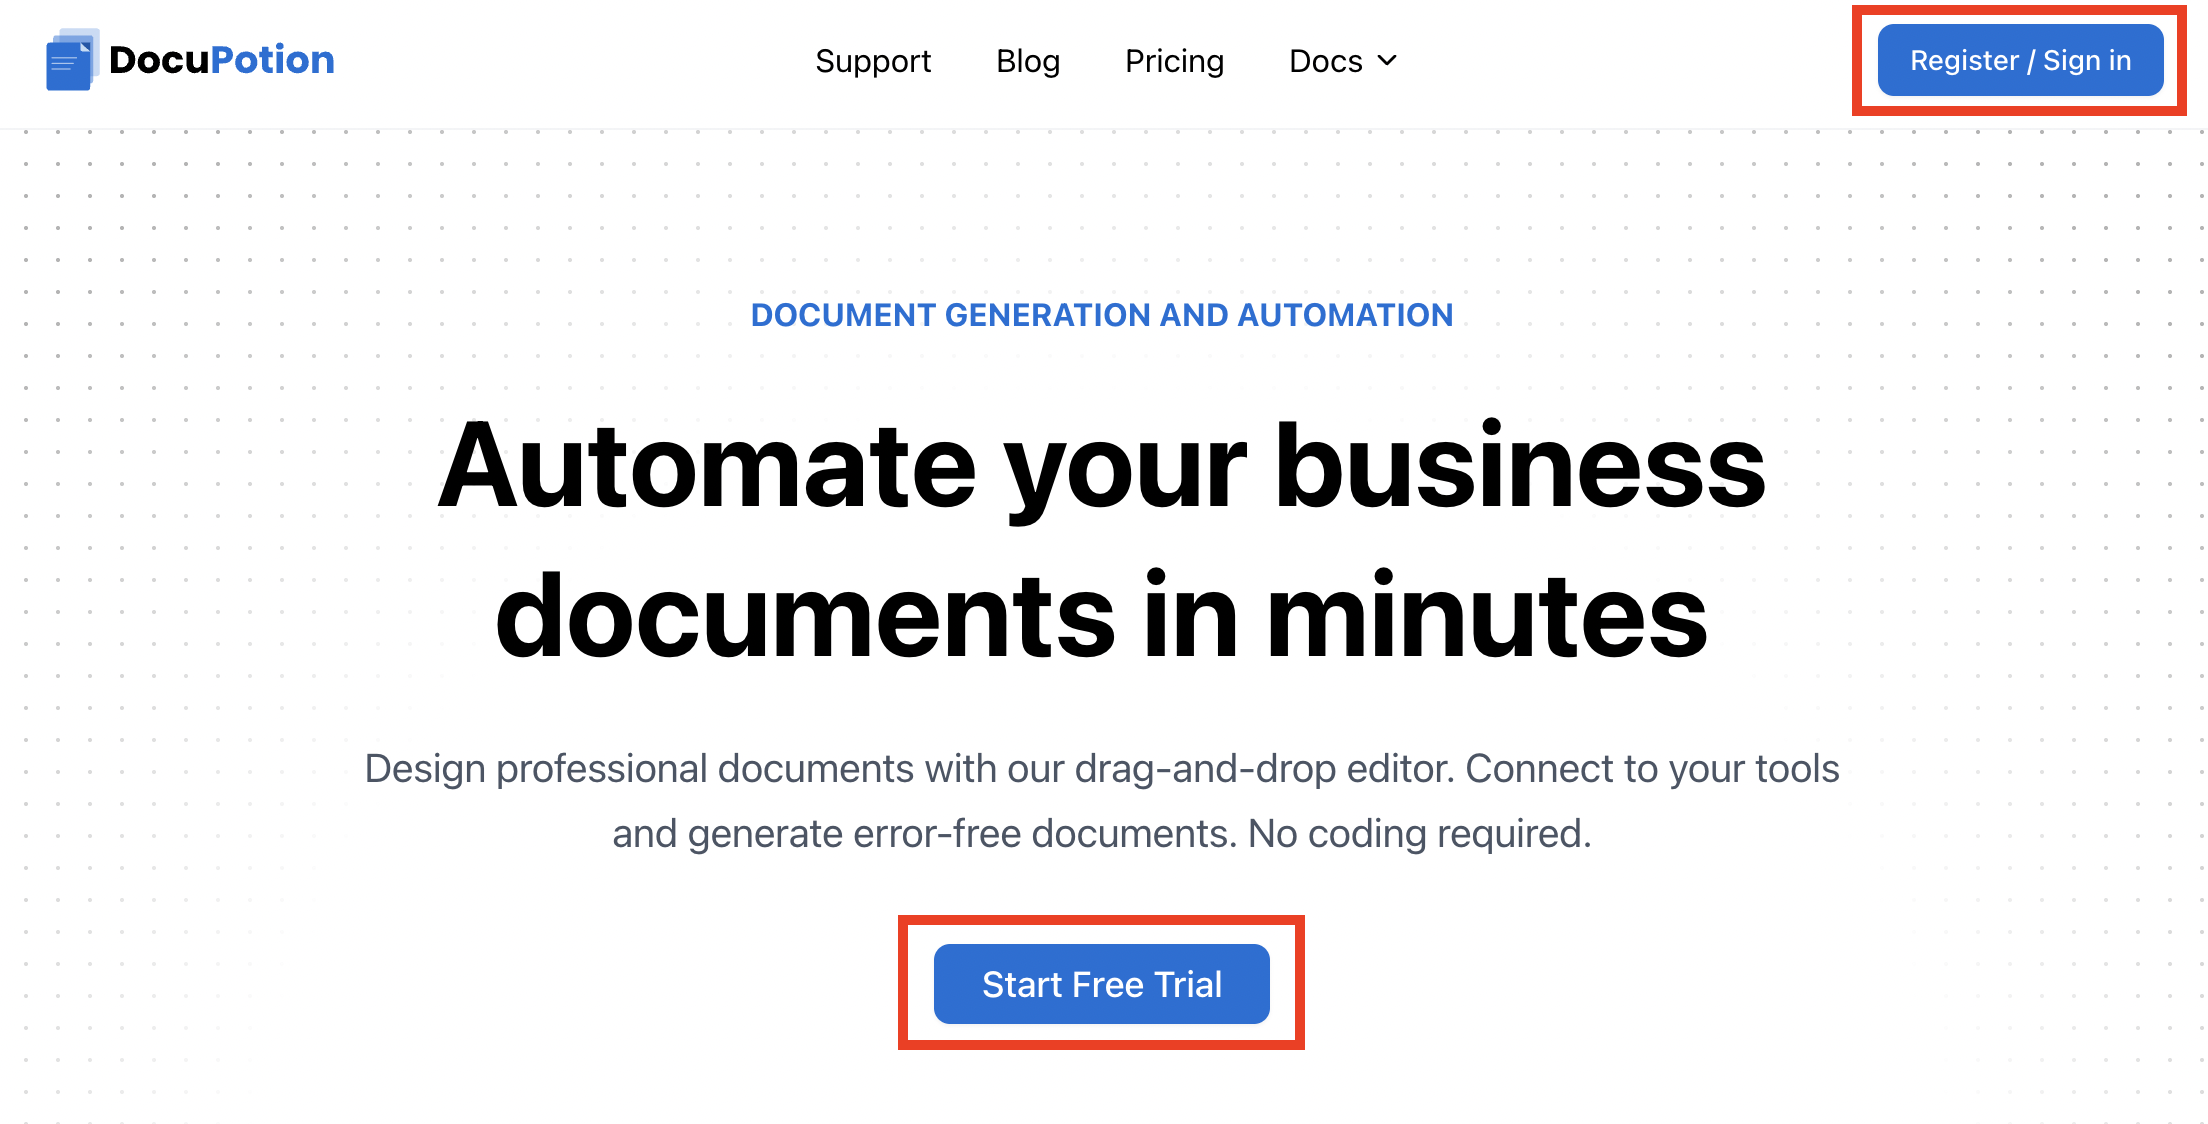
Head to the DocuPotion homepage and click on the 'Register / Sign in' or 'Start Free Trial' button.
This will bring you to the 'Register' page where you can register for an account. Choose Zapier - the onboarding wizard will route you straight into the document editor where you can create your first template.
Install the DocuPotion Zapier app
Estimated time: 2 minutes
In any Zap, search for the DocuPotion app and add it to your Zap.

Choose the Create Document event. Connect to your DocuPotion account by clicking the Sign in button and then adding your DocuPotion API key to the window that appears. You can get your DocuPotion API Key from the API Integration tab of your DocuPotion dashboard.

You can the select the DocuPotion account to connect to.
Design your document template
Estimated time: 1-20 minutes (depends on how complex your PDF document is)
DocuPotion's Template Editor is a prompt-driven template builder: you describe the document you want in plain English and the editor generates the underlying HTML, CSS, and data schema for you. No drag-and-drop, no HTML knowledge required.
For full details on how to use the DocuPotion template editor, check out this section of the docs.
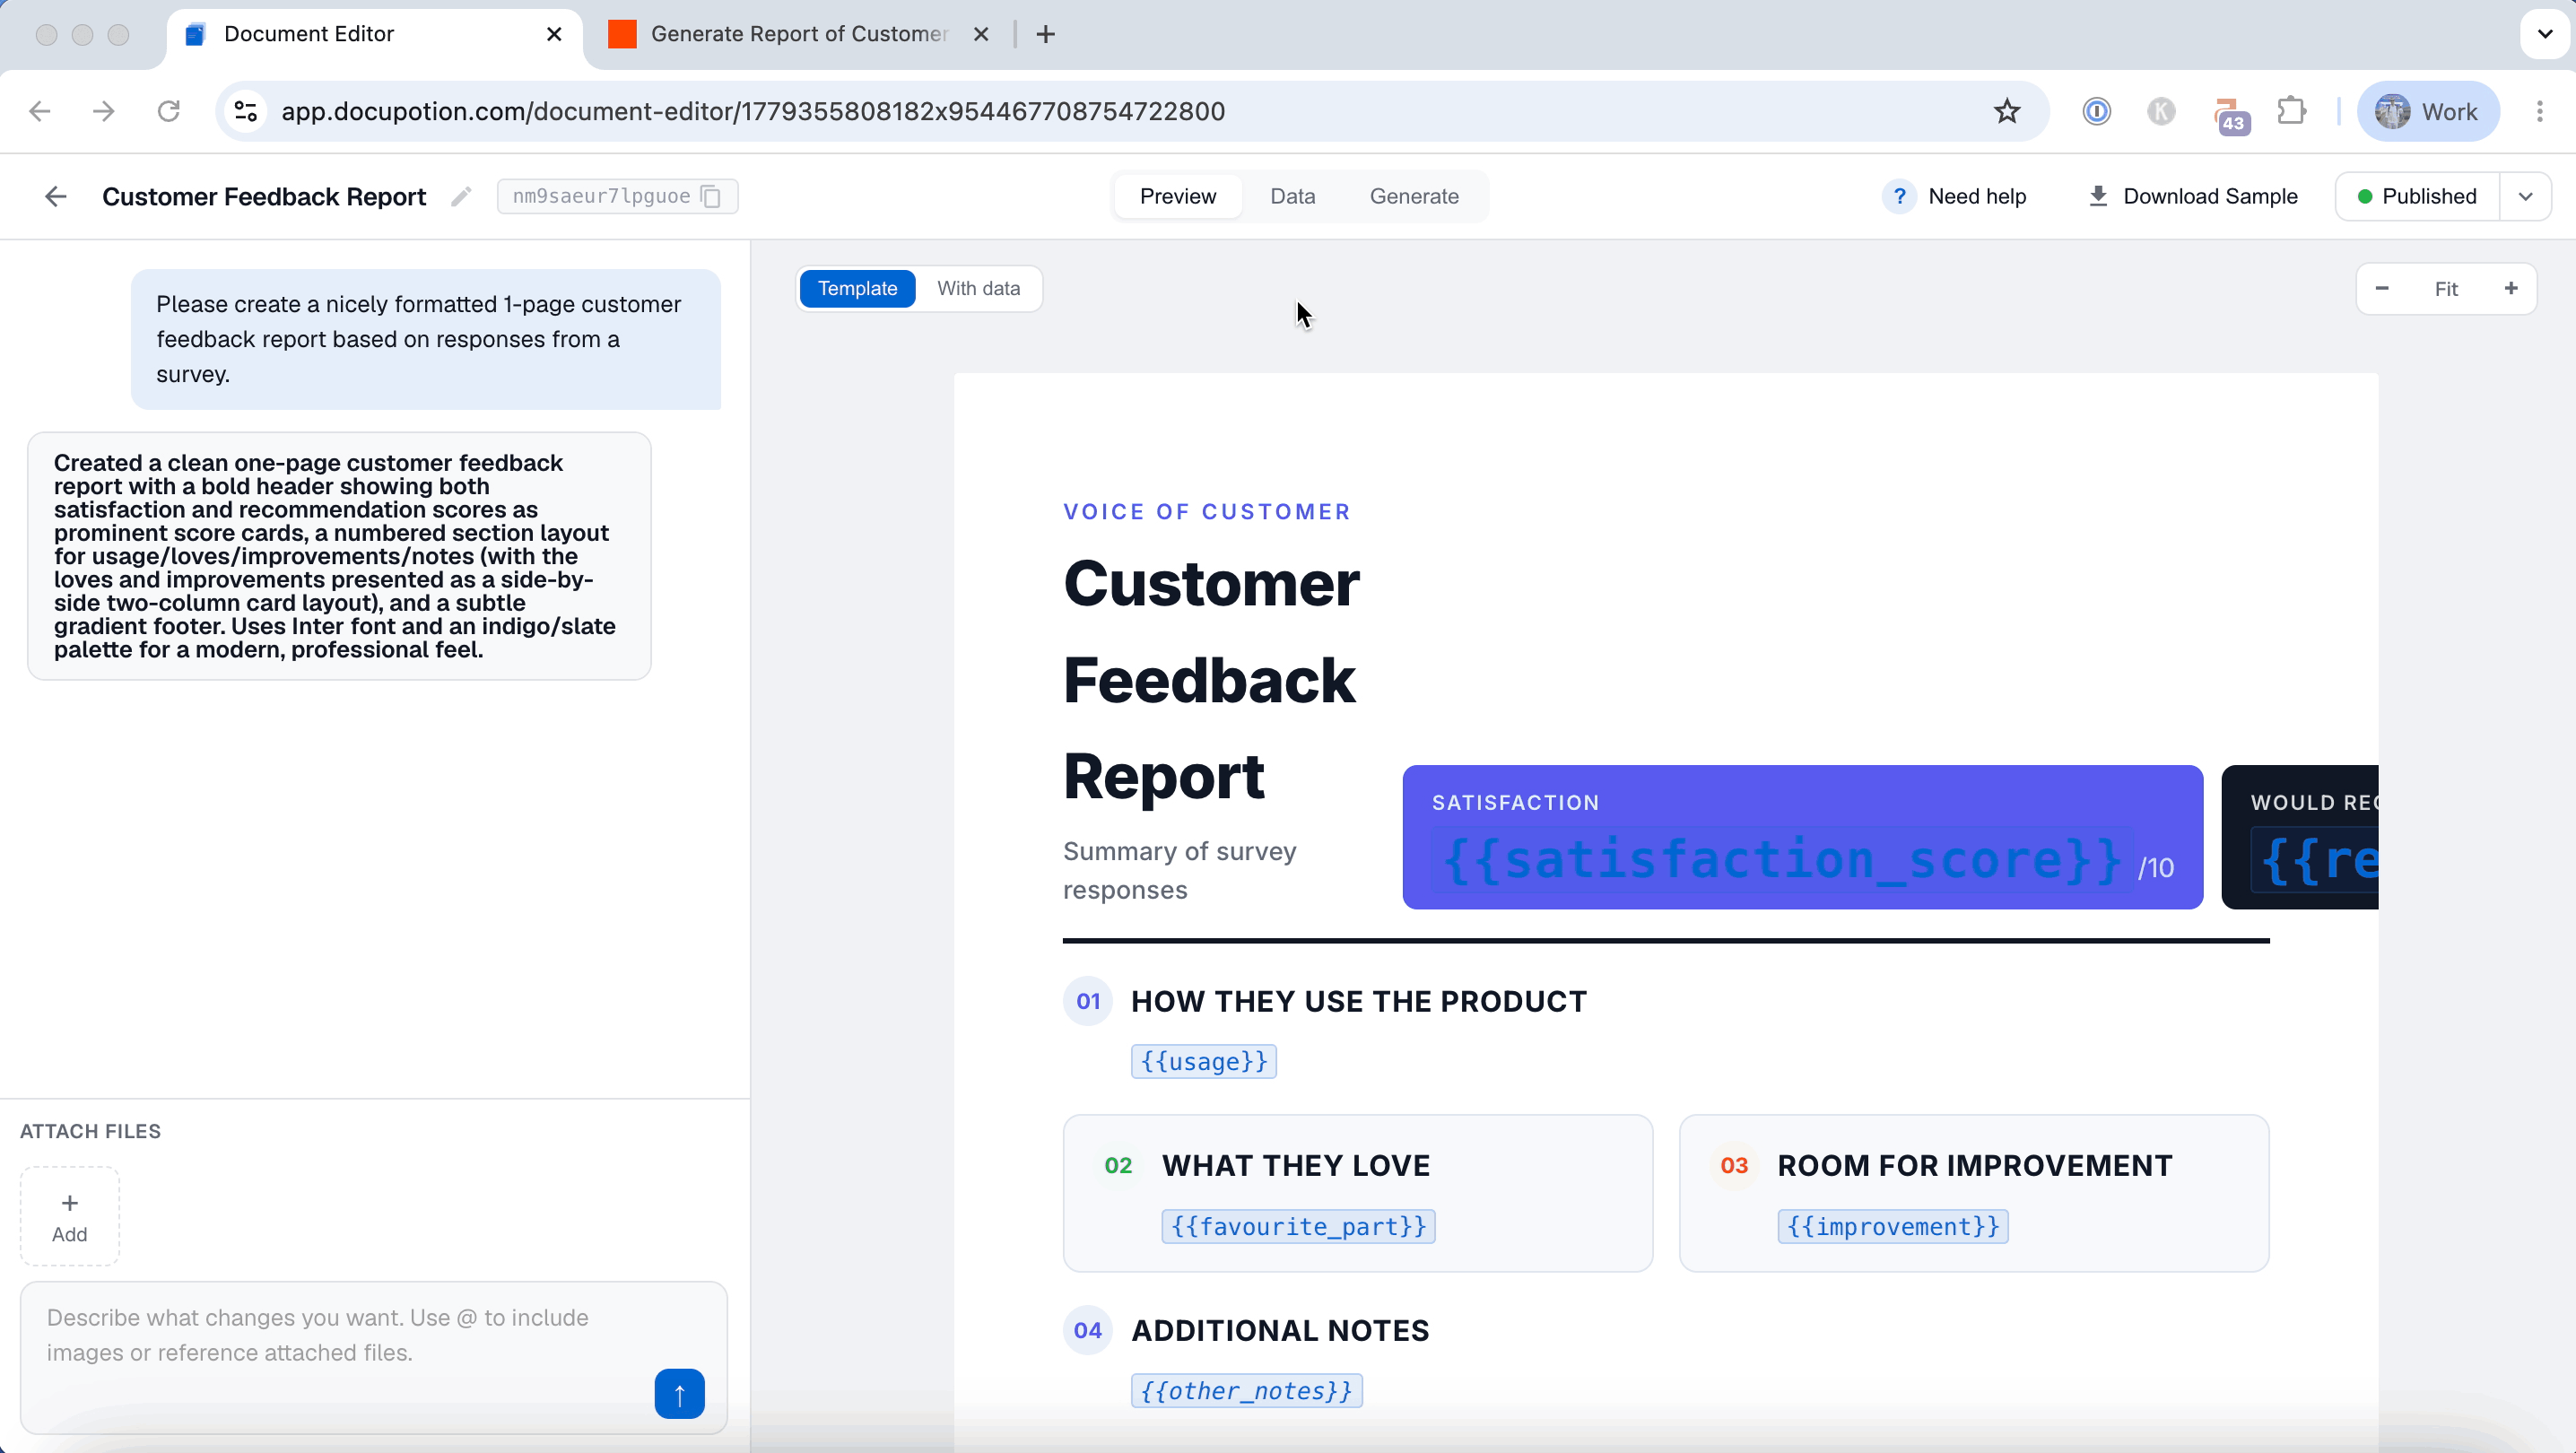
You can create a new template by clicking on the New Template button in the Templates section of your DocuPotion dashboard. You can choose to generate your template from a prompt or use one of our pre-built library templates. In the below example, we've created a customer feedback report based on responses to a survey, Here is the prompt we used:
Please create a nicely formatted 1-page customer feedback report based on responses from a survey.

Refining your template
You can refine your template with follow-up prompts. The editor remembers the conversation, so you can say things like:
- "Make the header more compact and move the logo to the right."
- "Add a discount row below the subtotal."
- "Change the font to something more playful."
Simple edits are applied surgically and come back in a few seconds. Bigger redesigns take a little longer because the editor regenerates the template from scratch.
Setting up merge fields
Anywhere you want dynamic data, the editor will insert a {{mustache}} variable - e.g. {{usage}} , {{favourite_part}} , {{other_notes}} . You can see and edit these in the Data tab at the top of the preview.
If you already know what data your Zapier Zap will use, include that list in your prompt up front - e.g. "Use these fields: usage, favourite_part, other_notes". The editor will bind them exactly and won't invent extras.
Preview with real-looking data
Toggle With data above the preview to render the template with the sample values from the Data tab. This is what your final PDF will look like when Zapier sends real values in.
Publish your template
When you're happy with the draft, click Publish in the top-right. Only published versions are used when Zapier generates a PDF, so you can keep tweaking the draft without affecting live workflows.
Heads up: Your Zapier Zap references the template by its Template ID (shown next to the template name at the top of the editor). That ID never changes, so you can republish updates without touching your Zap.
Trigger document generation in your Zapier Zap
Estimated time: 5 minutes
Back in Zapier, configure the Create a document action in your Zap:
Fields in the Create Document action
- Template - Choose one of your DocuPotion templates from the dropdown
- Output - Pick one: File (recommended - hands Zapier a binary file you can email, upload, etc.), URL (returns a signed link), or base64 (returns the raw encoded string)
- File Name - The filename for the generated PDF document, e.g.
Customer Feedback -{{customer_name}}.pdf. - Template Data - Add your template data as a JSON object. This is the data that will replace the
{{merge fields}}in your template (see below for further details)

Mapping your template data
The easiest way to map your Zapier data to {{merge_fields}} in the document template is to copy and paste sample data from the Data tab in your DocuPotion editor:
You can then replace the static values with data from a prior step in your Zap (in the example below we're using responses from a Tally form submission):

Click continue and test your action. It should now return a generated PDF document in whichever output format you picked. You can send this PDF via an email attachment, upload it to your Drive upload, or perform any other Zapier action that involves PDFs.