Getting started with the AI template editor
DocuPotion allows you to design a reusable template from a prompt. You can choose to build a standard document, like an invoice, with a prompt like:
Create a simple one-page invoice with line items and payment terms.
But you can also design any type of custom document you want. For example, you could request something like:
Create a single-page landscape PDF dashboard template (A4 landscape, 297mm × 210mm) for a departmental report called "Customer Success - Weekly Success Metrics". The design should be clean, data-dense, and modern with a light grey header bar and four colour-coded sections stacked vertically, each containing KPI metric tiles and charts side by side
The AI template editor is similar to Chat GPT. You can 'chat with' your template to refine your initial generation with follow-up prompts. You can also upload specific images to include in your template, reference other files and and see how the document appears with sample data.
About this guide
This guide walks you through your first AI-generated template, end to end. You will go from a blank dashboard to a finished document in about ten minutes.
- Creating a new template
- Tour of the AI template editor
- Refining your template with follow-up prompts
- Sample data and merge fields
- Publish your template and generate your first document
Please note that this guide assumes you've already signed up for a DocuPotion account. If you haven't done this, please see this section of our quickstart guide.
1. Creating a new template
Navigate to the Templates section of your DocuPotion dashboard and click on the New Template button. You'll have the option to either:
- Describe with AI
- Upload a fillable PDF
- Use a pre-built template (instructions here)
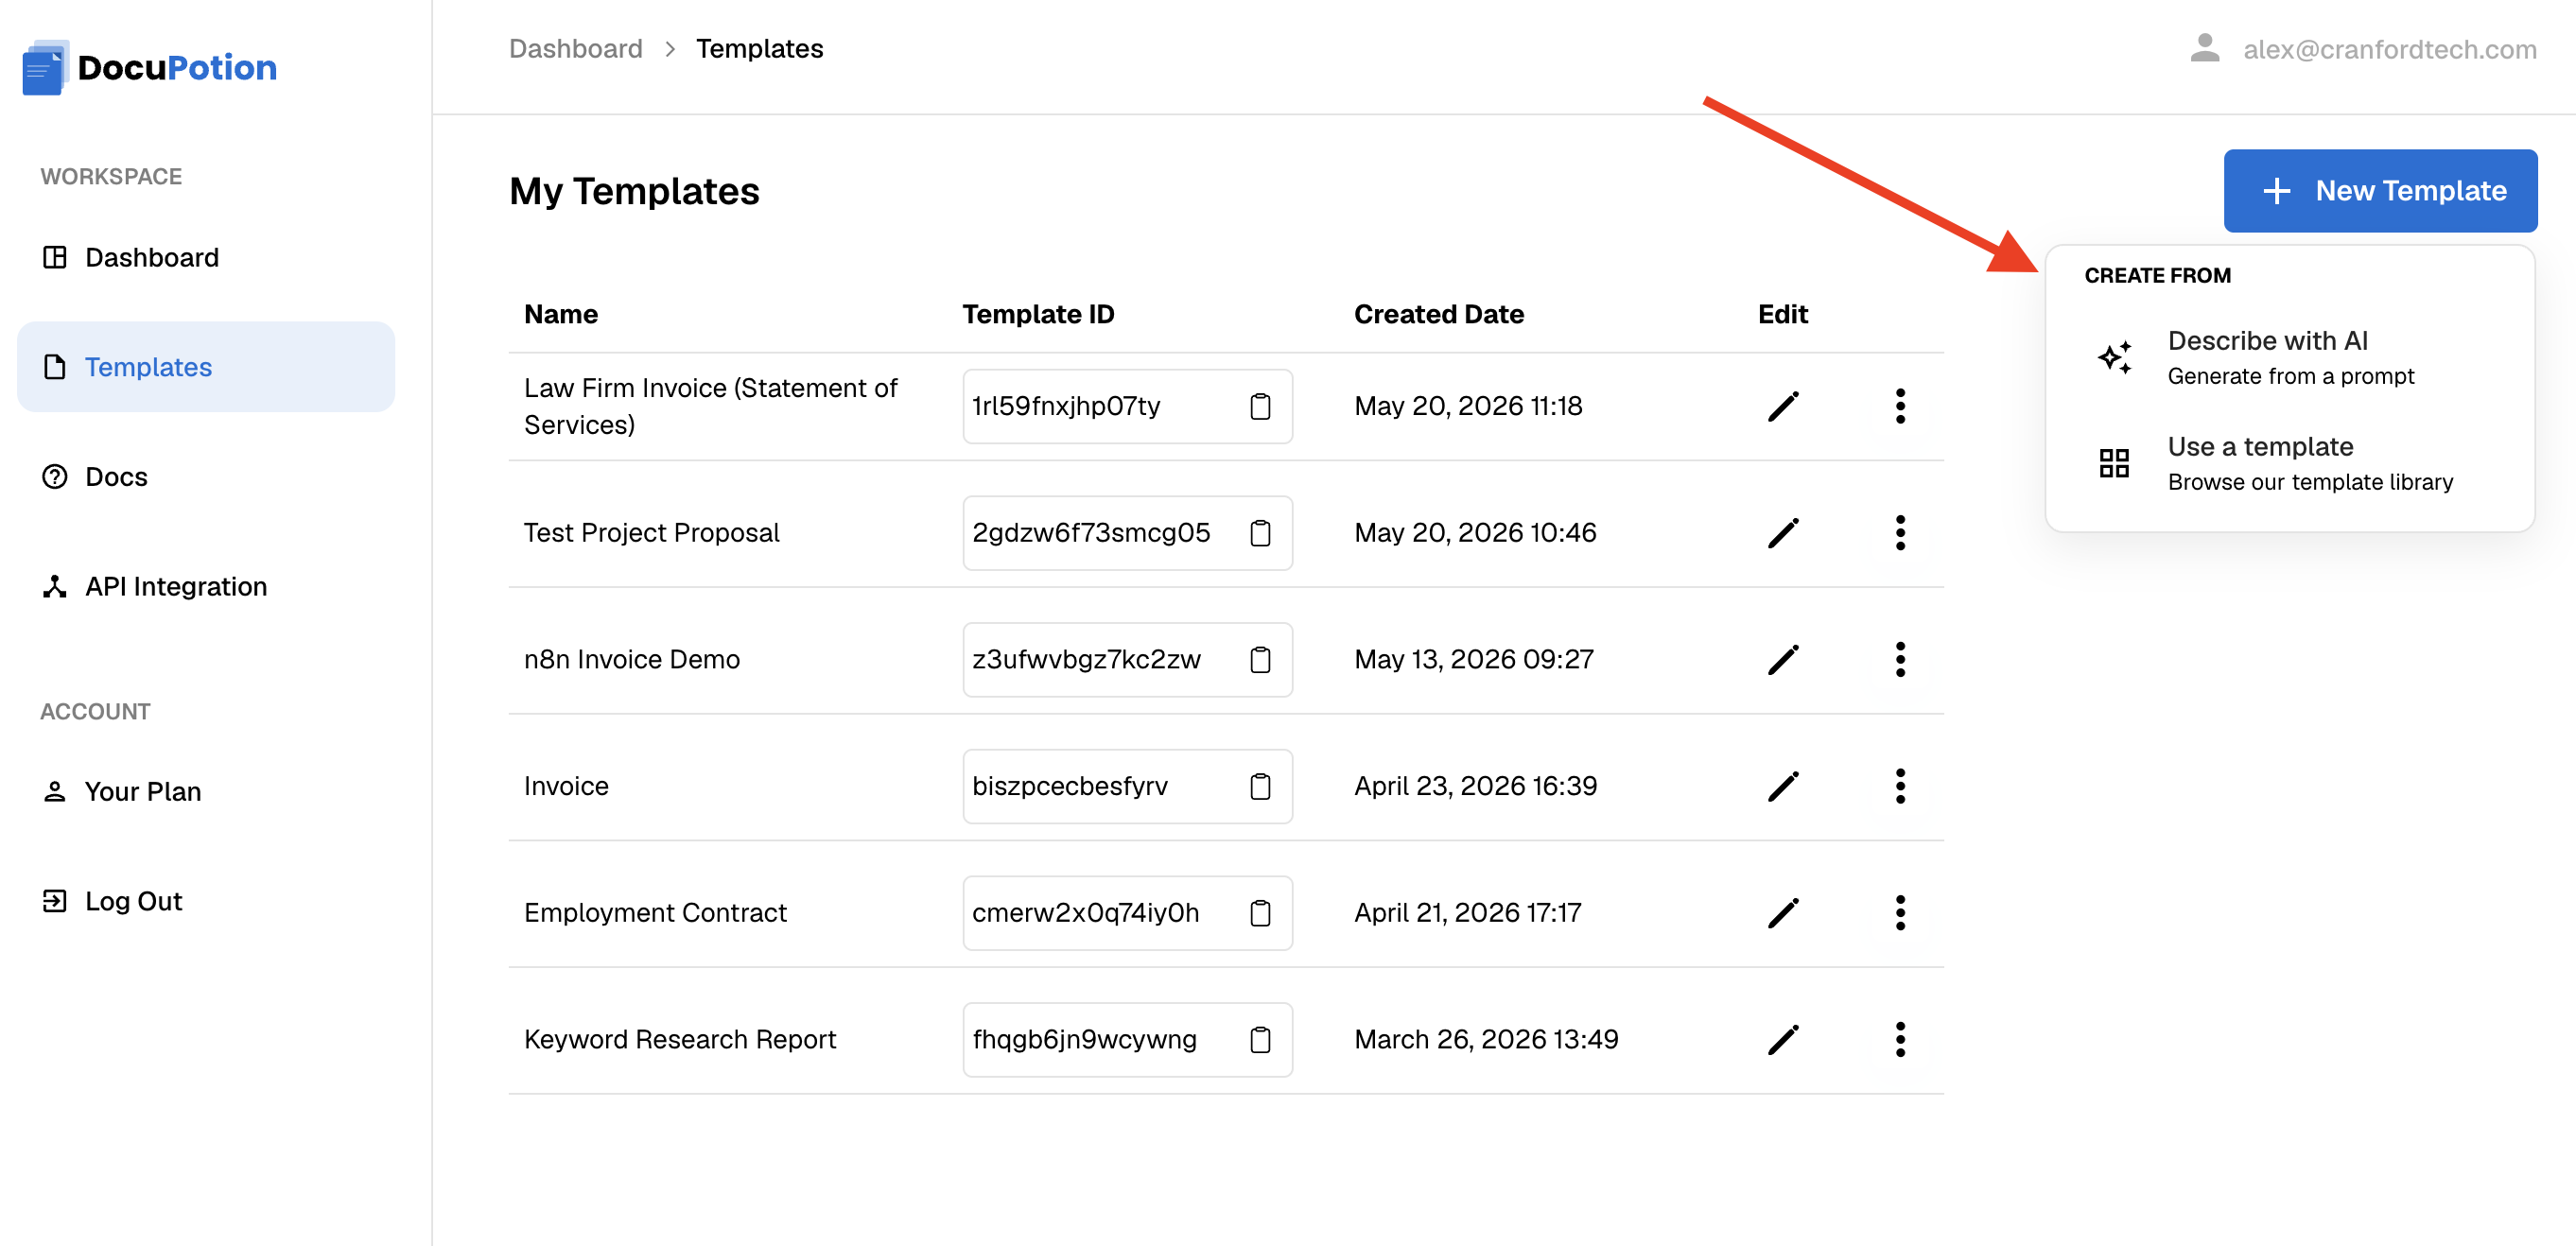
Select the Describe with AI option. Describe what kind of template you want. The more detail you provide the better the output, so don't be afraid to provide lots of context.

Using reference files for context
You can upload files and then reference them in the prompt by using the '@' command. This can be useful if you already have an existing PDF or .html mockup and want DocuPotion to base the design of your template on it.

Adding sample data
You'll also have the option to provide sample data. DocuPotion will take whatever sample data you provide and include it in the template as {{merge_fields}} . You can provide JSON, CSV or just a list of field names - DocuPotion is pretty good at taking unstructured data and interpreting it accurately.
You will be able to edit the{{merge_fields}} included in template later on, so don't worry if you forget to add something.
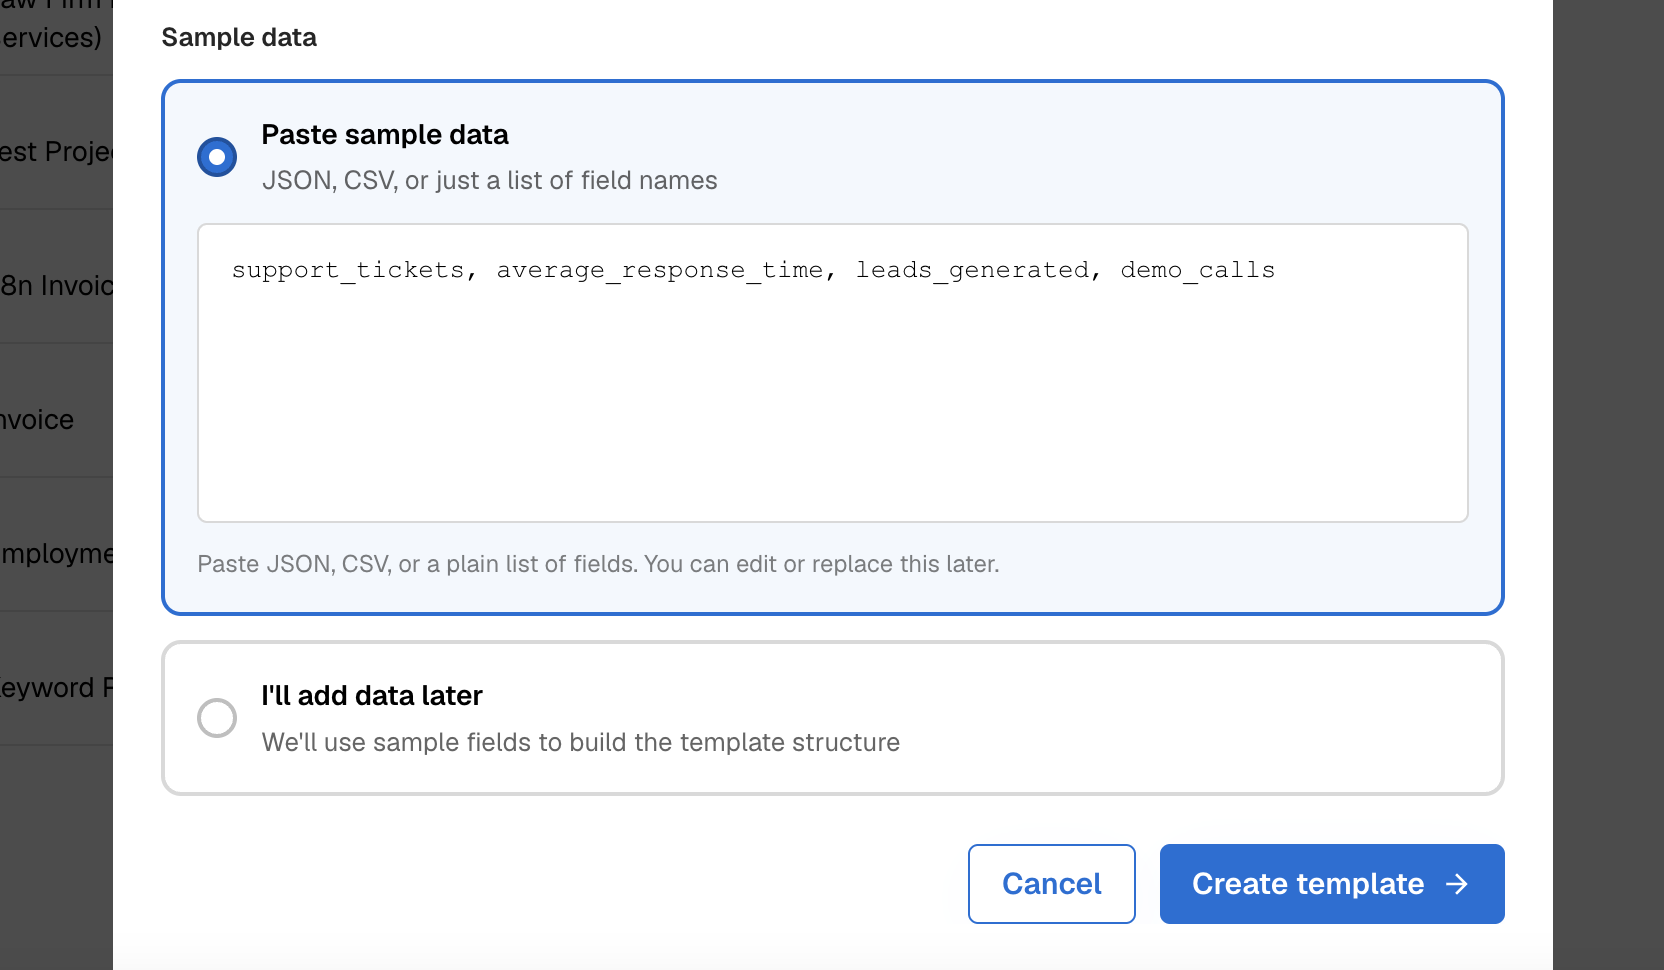
If you're not sure what {{merge_fields}} you want to include, you can choose the I'll add data later option. If you do this, DocuPotion will choose what {{merge_fields} to add to the document.
Once you're happy with your inputs, click on the Create template button. You'll then be brought to the document editor. It may take a couple of mins to fully load your template, but you'll see some messages showing you the progress our AI agent is making.
2. Tour of the editor
Estimated time: 2 minutes
The AI template editor area has two panes:
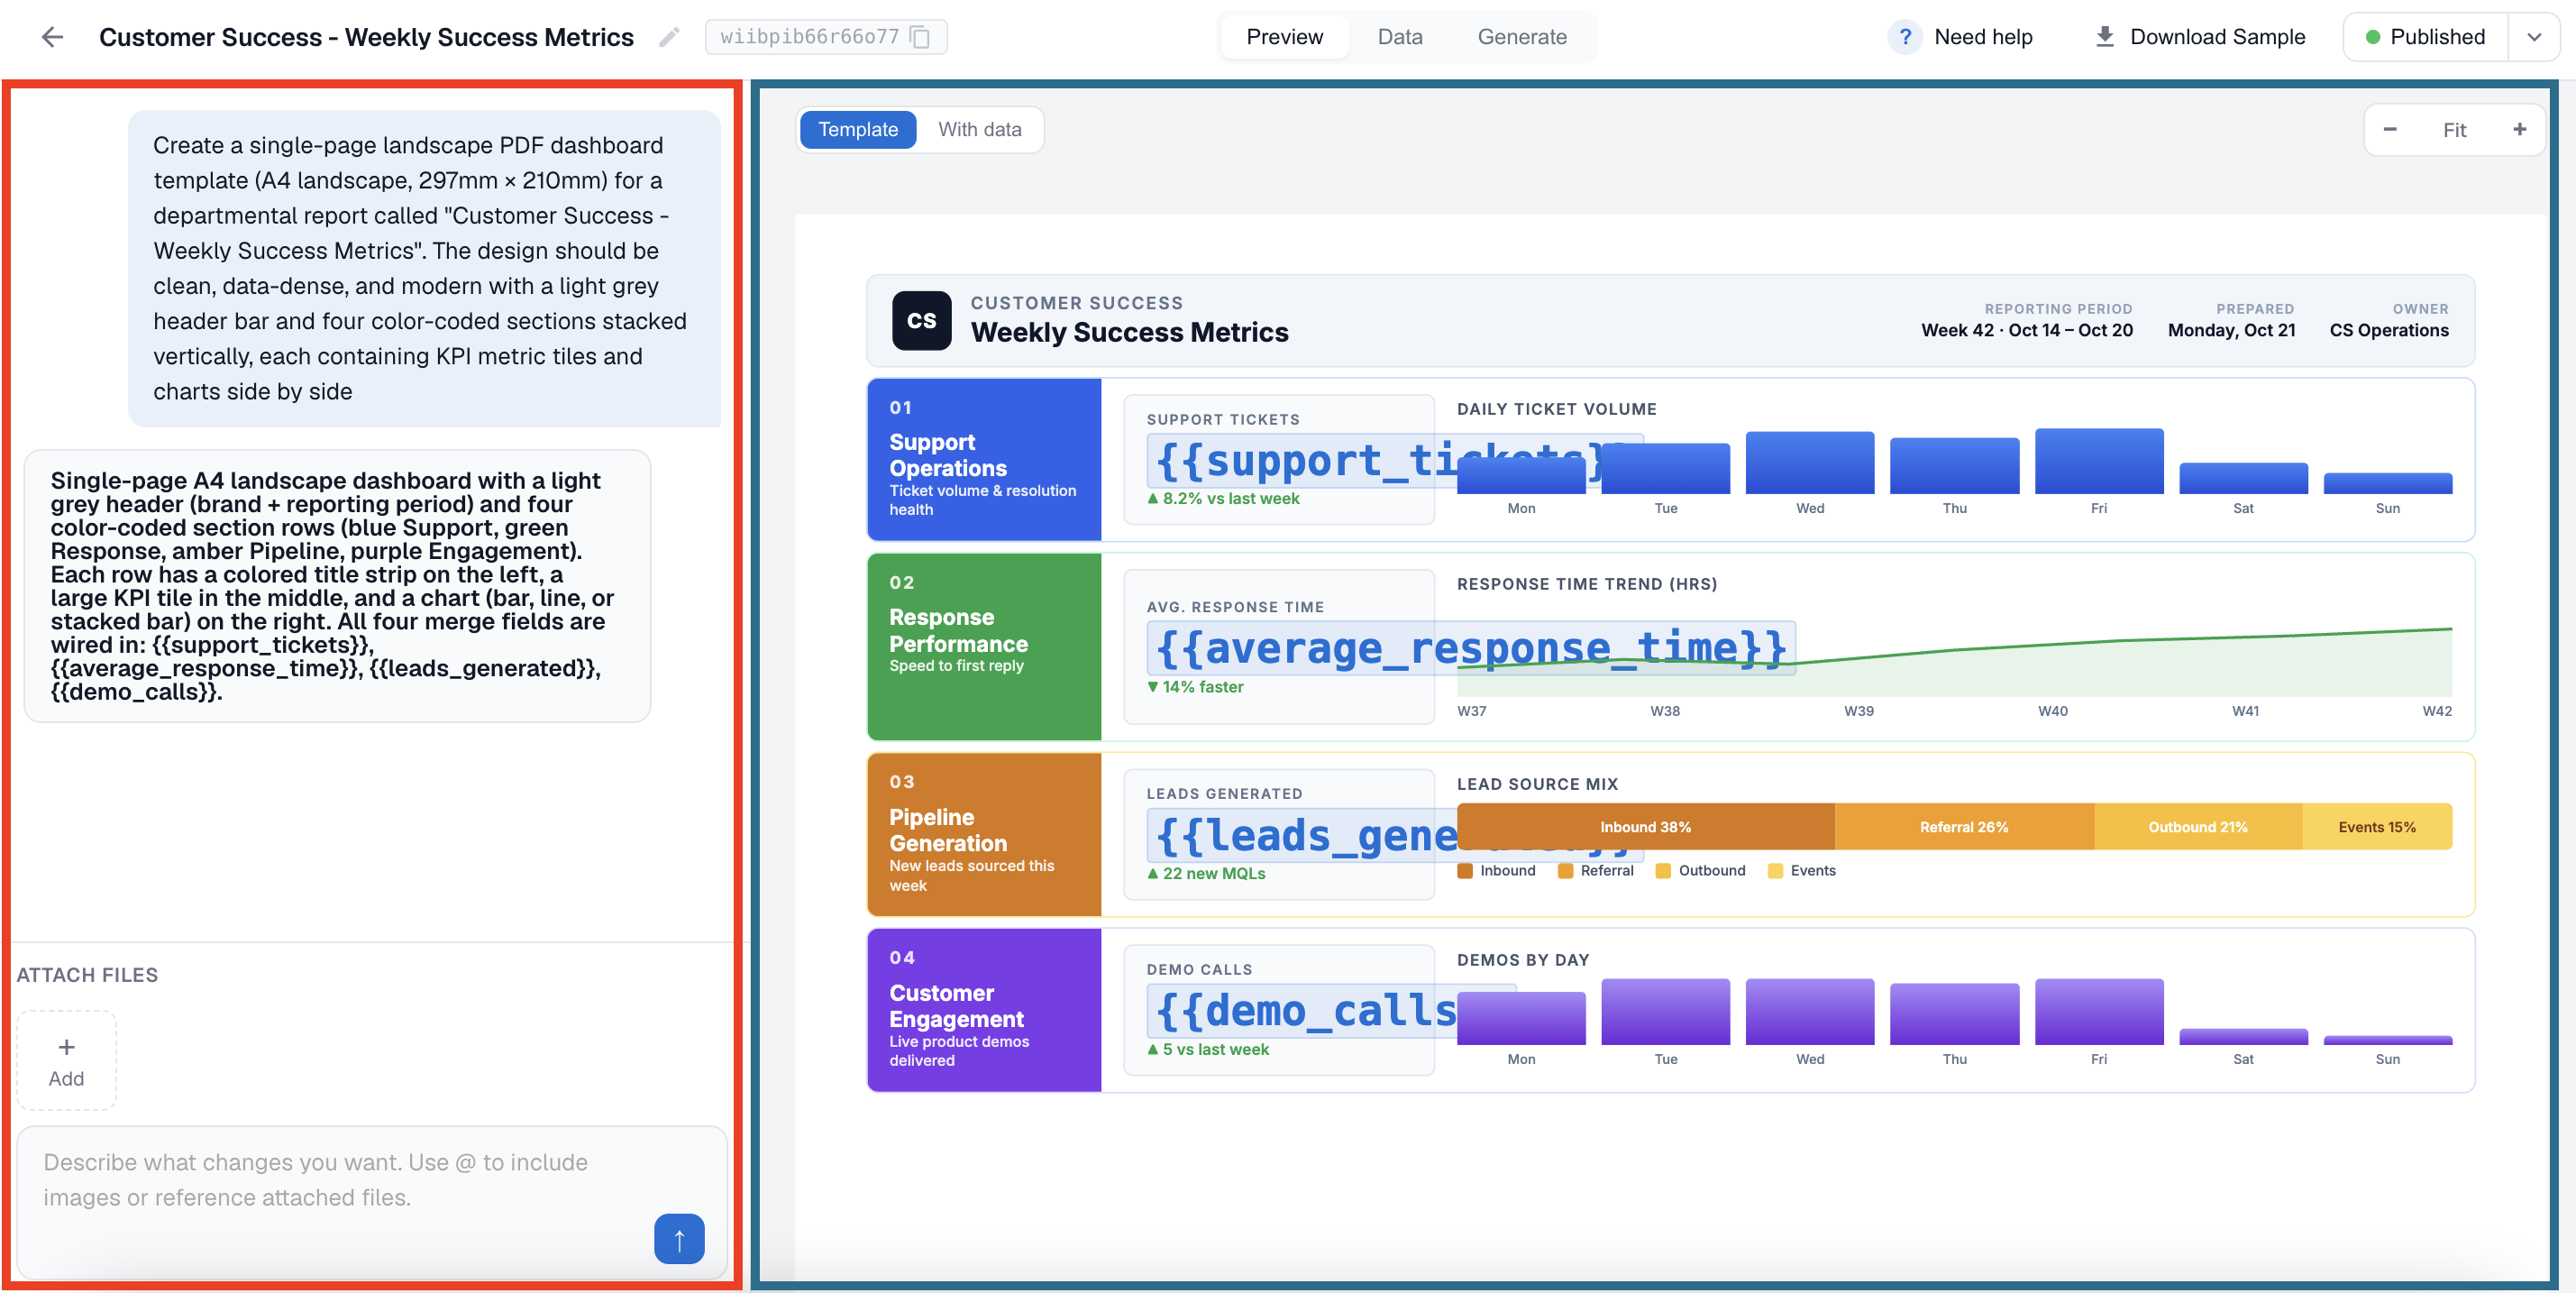
Left: the prompt pane
This is your conversation with the editor. Your initial prompt sits at the top, and every follow-up appears below. Each message can include text and attachments such as logos, reference files or brand-style PDFs. The editor remembers context, so you can keep edits short, for example:
make the heading blue
or
add a notes section at the bottom
or
use Inter instead of Times for the font
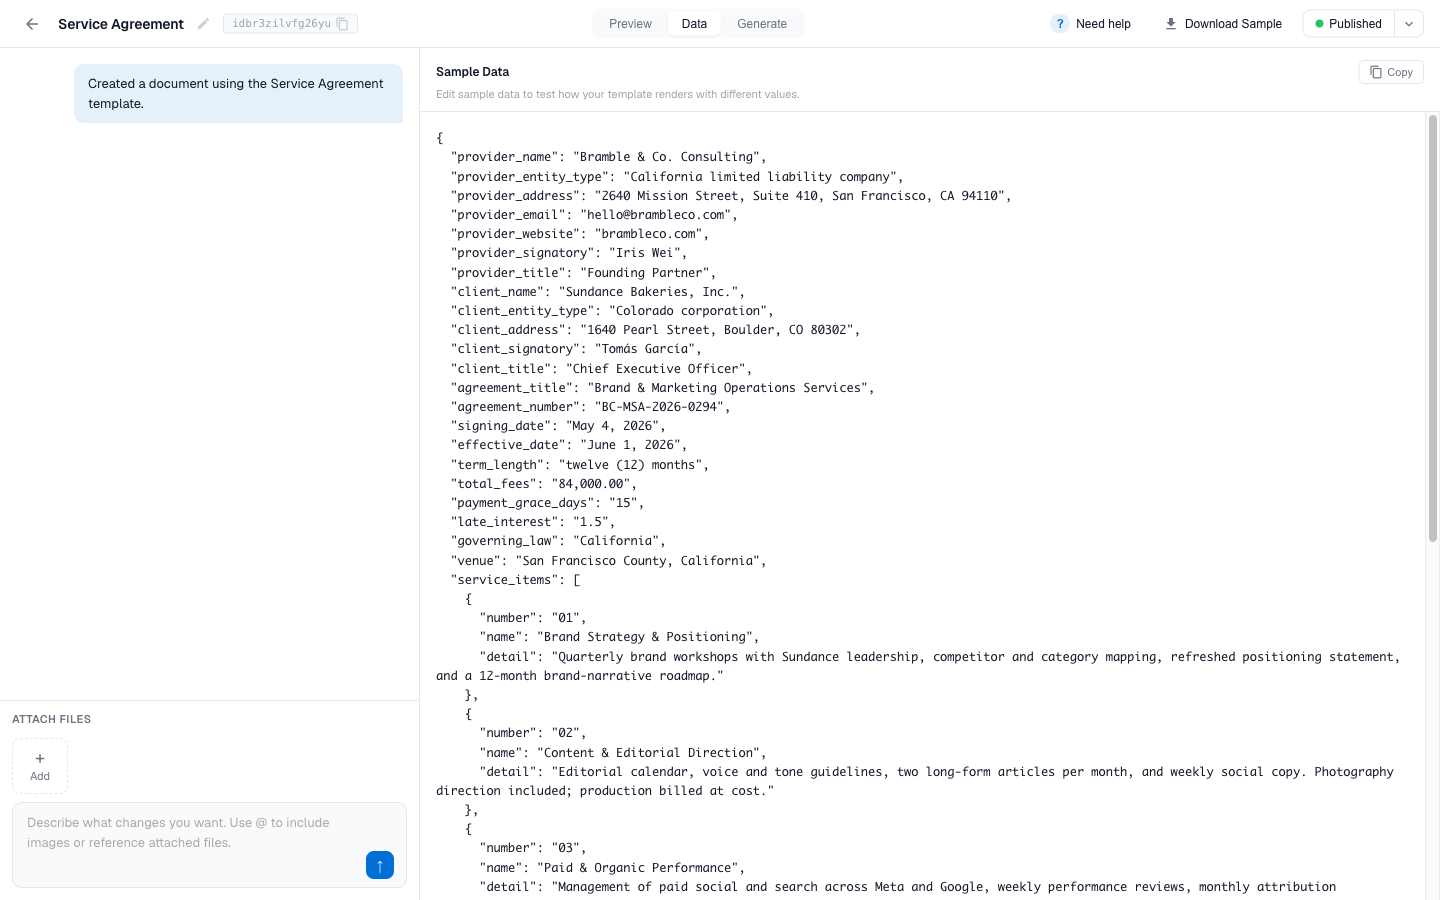
Right: preview, data, and generate
The right pane has three tabs.
- Preview: your template, paginated at real page dimensions. This is what your finished document will look like.
- Data: the sample data the preview uses, editable as JSON.
- Integrations: connection instructions for our integrations and REST API
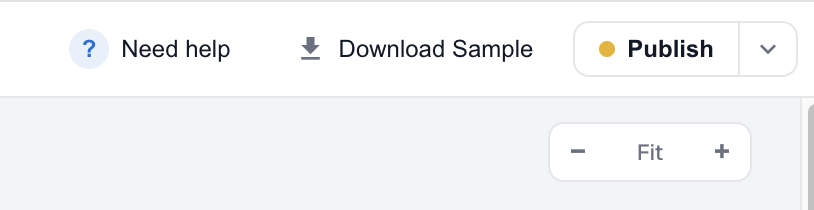
Two controls at the top of the preview matter most.
- Template / With data toggle: flip between literal merge fields (
{{customer_name}}) and rendered sample data (Acme Co.). Use Template mode while you are designing, then flip to With Data to sanity-check what your end users will see. - Zoom controls: fit-to-width by default, with plus and minus buttons for closer inspection.
3. Refining your template with follow-up prompts
The first generation won't always be perfect. Use follow-up prompts to nudge it. The editor is good at targeted changes, and tries to preserve everything you did not ask to change.
Effective follow-up prompts are small and specific:
- "Make the header blue (#0070D7) and increase the company name to 22px."
- "Add a 'Notes' section below the totals, with light gray background."
- "Move the logo from top-left to top-center and add a thin divider underneath."
- "Remove the page number in the footer."
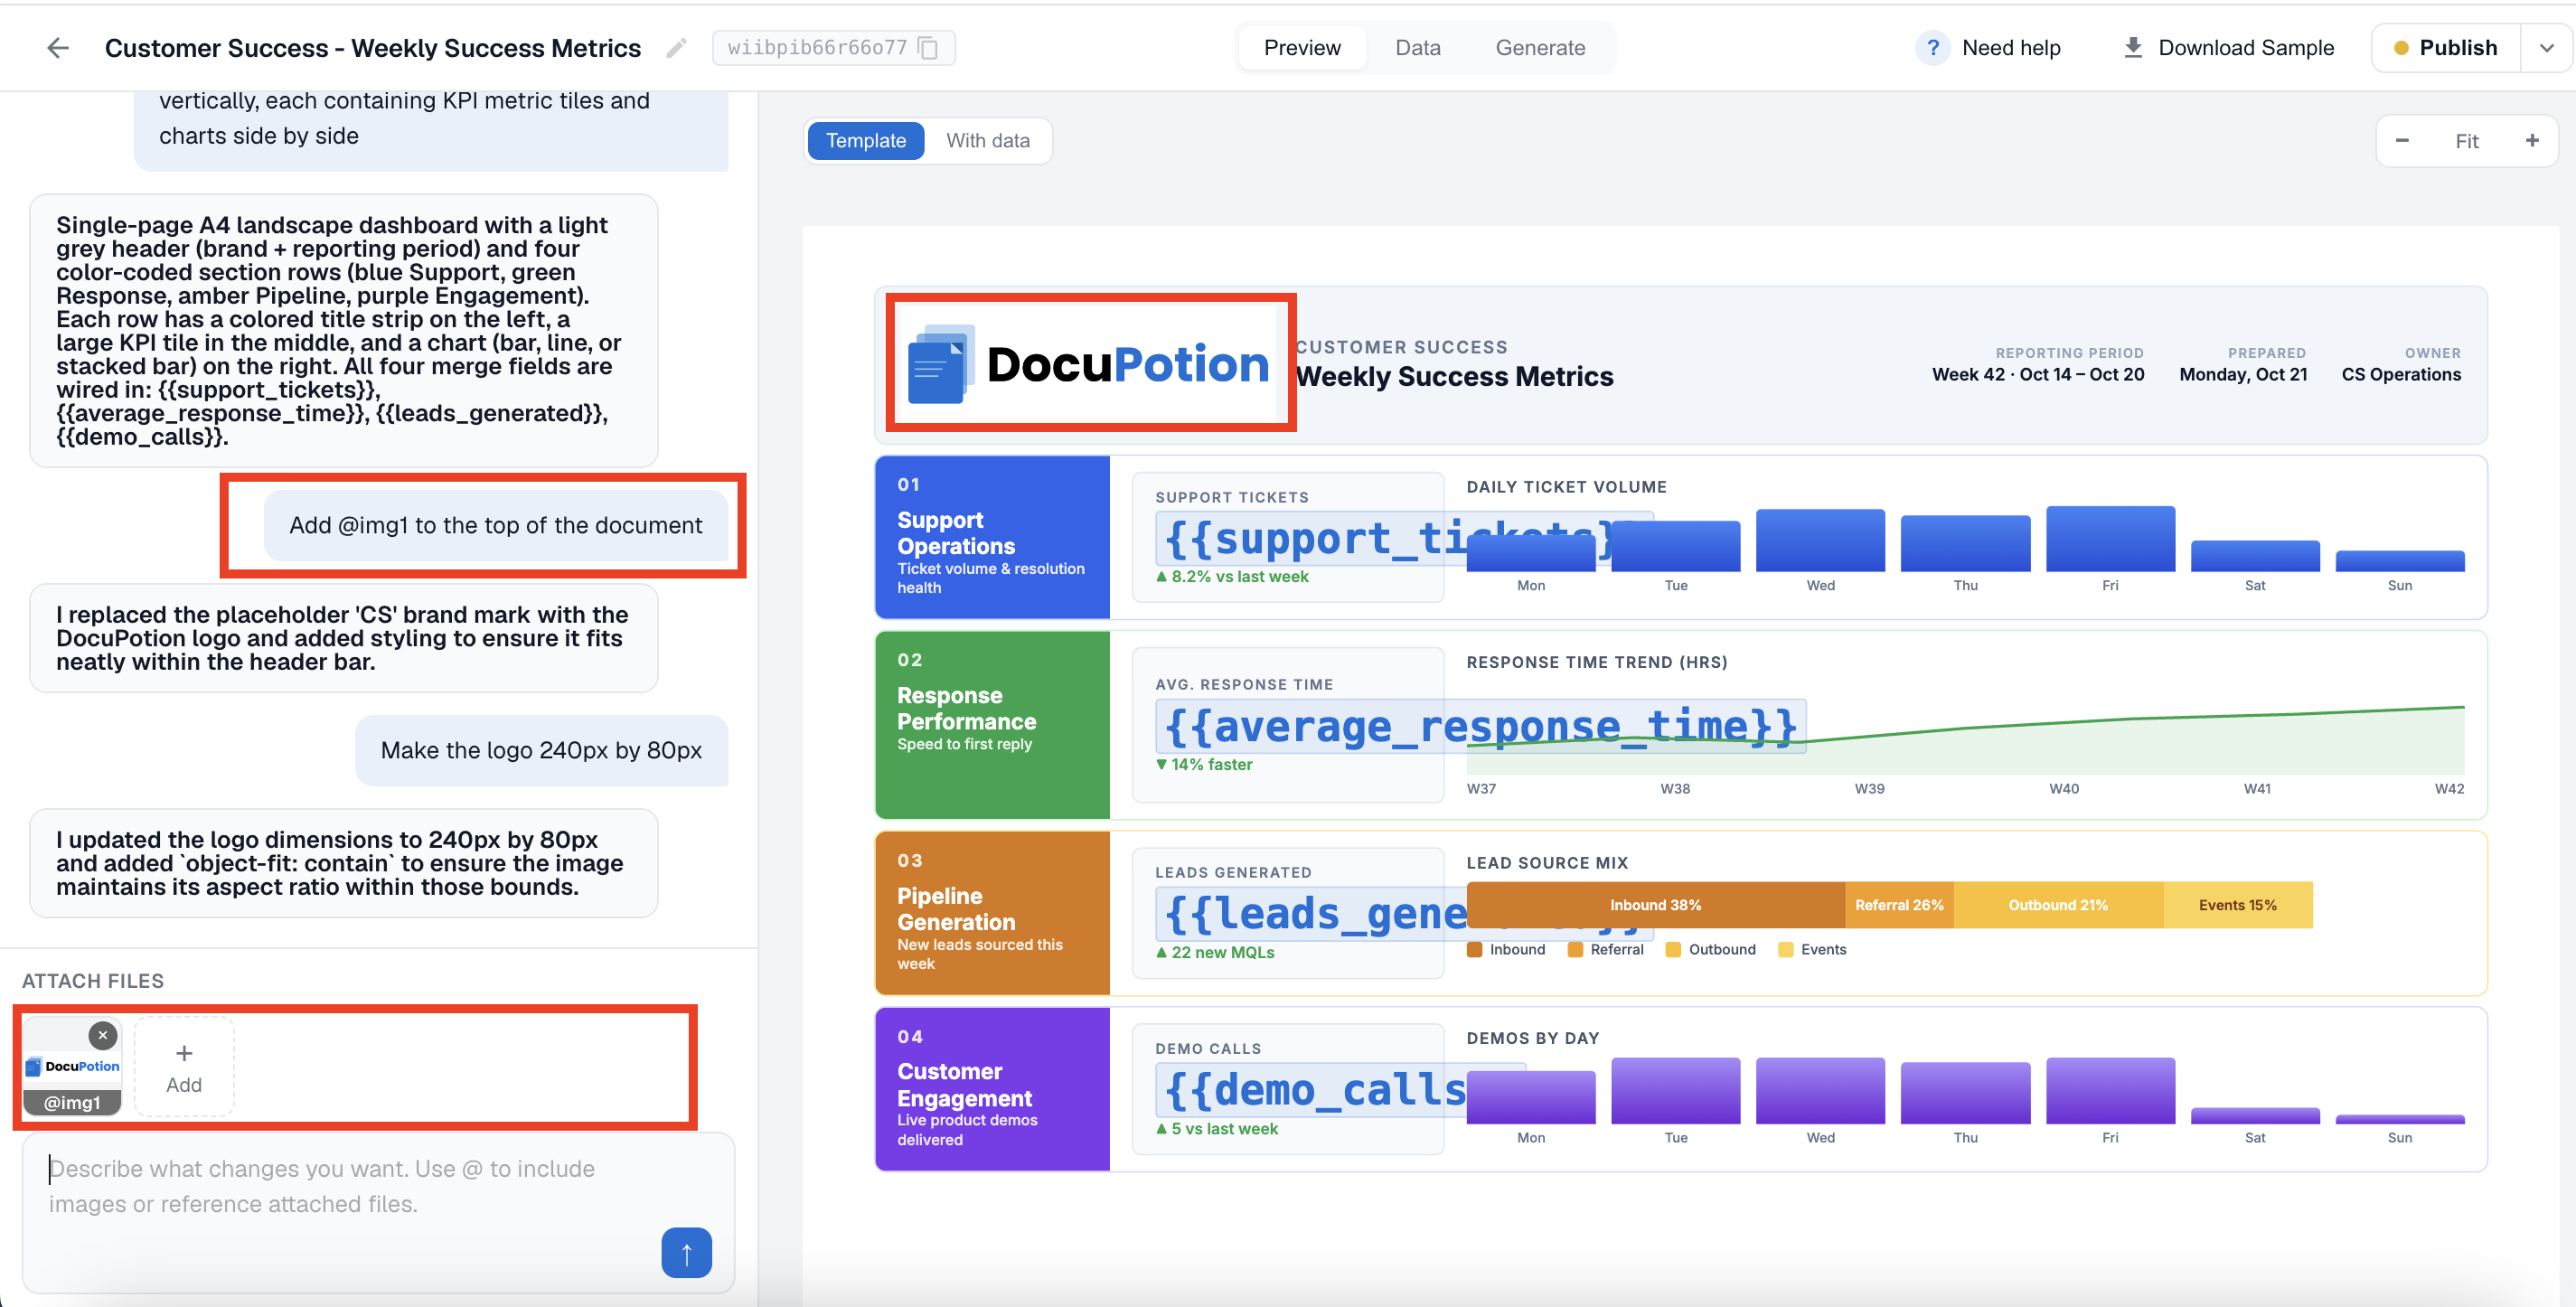
Adding images
You can upload images (like company logos) by clicking on the Add Button in the Attach file sections of the chat pane. You can then ask DocuPotion to include uploaded images by referencing it with '@ ' .
4. Add sample data and merge fields
Every dynamic field in your template is a merge field wrapped in double curly braces, for example {{customer_name}} or {{invoice_total}} . When you generate a document, you pass real values for each field and DocuPotion substitutes them in.
Click the Data tab to see (and edit) the sample data the preview uses.
You can generate a test PDF with your sample data by clicking on the Download Sample button in the top of the editor
Three forms of merge field cover most cases:
{{field_name}}: substitute a single value.{{#list_name}} ... {{/list_name}}: repeat the wrapped block for each item in an array (line items, attendees, transactions).{{^list_name}} ... {{/list_name}}: show the wrapped block only when the list is empty or the value is falsy, for example "no items to display".
To add a new field, edit the sample JSON to include it and then ask the editor to use it, for example:
Add a 'Purchase Order Number' field next to the invoice number, using the
po_numberfield.
The editor will wire up the merge field for you.
Field names must match exactly
If your sample data has invoice_no , your real API call also needs to send invoice_no , not invoiceNumber or invoice_number . Pick a naming convention early and stick with it.
5. Publish your template and generate your first document
Click Publish in the top-right when you are happy with the template. Your work is stored against a unique templateId that you will use to generate documents.
From here you have two paths.
Integrations
Open the Integrations tab and pick your stack: Bubble, Airtable, n8n, or Zapier. Each integration walks you through connecting your data source so documents generate automatically when a record changes or a workflow fires.
REST API
POST your data to the DocuPotion API along with the templateId and your API key.
curl -X POST https://api.docupotion.com/v1/pdf \
  -H "Authorization: Bearer YOUR_API_KEY" \
  -H "Content-Type: application/json" \
  -d '{
    "templateId": "YOUR_TEMPLATE_ID",
    "data": {
      "customer_name": "Acme Co.",
      "invoice_no": "INV-001",
      "items": [
        { "name": "Design work", "quantity": 1, "amount": "1,200.00" }
      ],
      "total": "1,200.00"
    }
  }'
The response includes a signed URL pointing at your freshly rendered PDF document.